I am going to be posting my Top Ten Blog Posts of 2008 here on heartjean.blogspot.com over the next few weeks. Here is my tenth most popular post:

As requested, here’s how to make an envelope from a random or not so random piece of paper. At the end, you will also be able to make a re-moistenable glue recipe for sealing the envelope! This “not so secret trade-secret” was used in my greeting card set that is currently featured at jeanfitz.etsy.com.
First off, put your ruler away. Just some scrap paper, scissors and good ole school glue is all you need to start. Just as I dislike using measuring cups in such recipes like my intuitive hummus, I also dislike using rulers to make paper stuff. A lack of a ruler builds character.
1.) First, figure out what it is you want to envelop (Greeting card, folded letter, etc.) and have it on hand. You will use it to gauge the size of your envelope. Gauge, not measure! 2.) Now, figure out what you want the envelope to be made out of…your 2nd grade report card, your parking ticket, sheet music, or my personal favorite: old maps. Tear a magazine page or snatch that pretty wallpaper sample. It’s more pleasurable to open an envelope made out of a stronger/thicker paper then the item you’re enveloping so choose wisely.

3.)Figure out which side is the prettiest or what you want to show on the outside and turn that face down. Place your card or item you’re choosing to envelop on top of the envelope sheet. Turn it at an angle so that all four corners are within the boundaries of your bottom sheet. It should be as centered as possible but don’t worry about perfection, that’s for those ruler toting folks. Ick! 4.) Now fold and crease each triangle corner up to the edges of your card. Yes, flush with the edge…almost as if it was, ahem, the ruler. Remove the card from inside and open your four flaps.


5. This is the tricky part. Use scissors to cut out each corner where the flaps overlapped. (See picture. I’ve colored in black marker where you should cut.) The creases will also guide you. I like to cut a curved shape so it looks more envelope-y. Make sure you don’t cut past where the folds come to a corner. That is the corner of your envelope…unless, of course, you’re being artsy and want exposed corners. By all means, rebel.

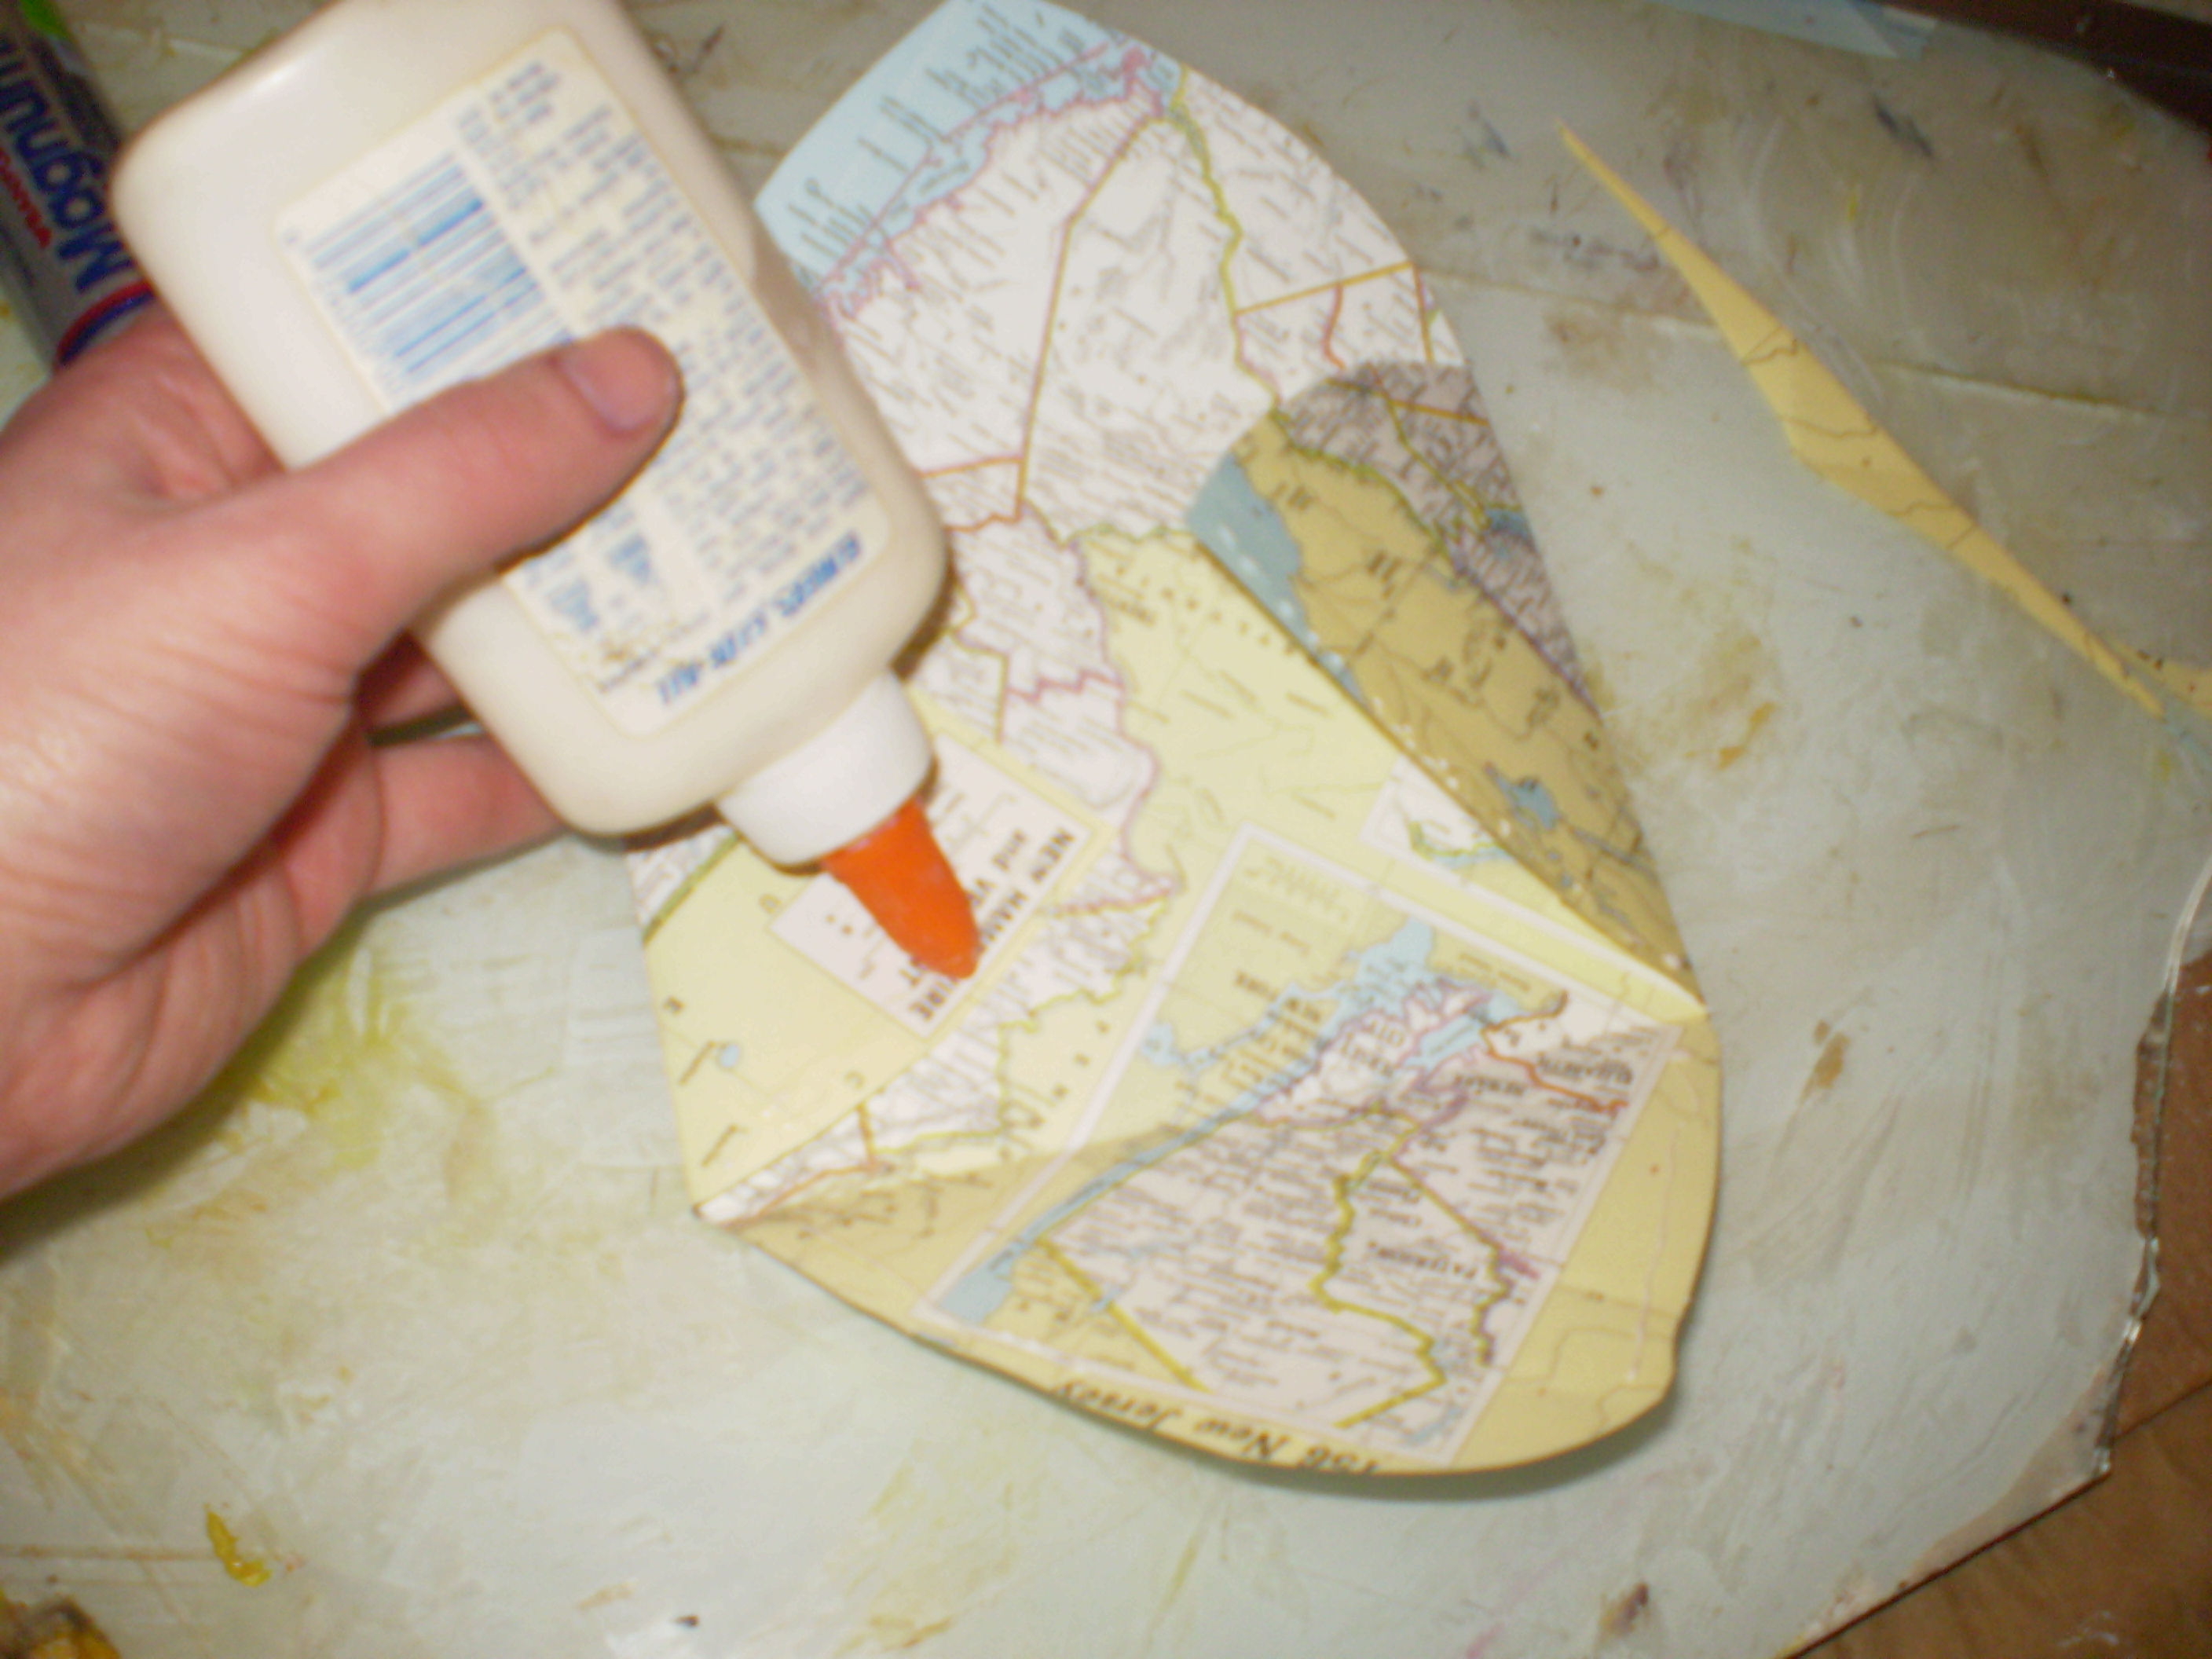
6. Then I figure out which flap is going to be the flap that opens and which 3 flaps will be sealed. I place a thin line of glue on the edges of the three bottom flaps that overlap. Don’t use too much glue and don’t glue your envelope shut! Sometimes I trim the pointed edges to center the flaps and make it look even. Just do what feels right. I also slide the card in to ensure my proper size is in tact and that I wasn’t folding, cutting and gluing for 3 minutes in vain.
While this is drying, you can prepare another great recipe. Homemade re-moistenable glue! The stuff you lick to seal the deal! And we can make it taste good! You will need to have some Gelatin (I have the Knox brand) on hand (1/4oz), sugar (1tbsp), some water (1/4 cup), and maybe some food flavoring/essential oil (1tsp). The sweet basil I used is lick-tastic! I have no cognitive dissonance whatsoever about using gelatin- which is ground up cow hooves and other animal tissues- and still claiming my vegetarianism. Fact: I won’t eat flesh but I’ll lick cow feet. If there is a vegan re-moistenable glue you can make at home, please tell me!
I use the double boiler method to make my glue.


To keep your leftover glue for next time, I mix all the above ingredients together in a margarine container or other disposable plastic. Boil water in a pan big enough to let the container float inside. Gelatin becomes solid quickly when it cools off so I take the whole pan over to my envelope workstation while it’s still warm and gooey. Mind the strange glue smell, just tell people it’s an art thing and they’ll nod silently and leave you alone. Re-heat your double boiler pan again if it hardens. Take a small paintbrush and apply the glue to the edge of the opened flap. Voila!
Be sure to let everything dry thoroughly before stacking them up!
You only need to make a little batch of this stuff so don’t start boiling your water and then walk away like I do and check your blog stats and completely forget what it is you’re making and find an empty pan of steam 15 minutes later.
Happy Envelope Making! And if you put crazy flavoring in the glue, inform your licker…or not.